
Module 4: Meteora Guide
Introduction to Meteora
Meteora is a leading DLMM (Dynamic Liquidity Market Maker) protocol on Solana. It allows users to provide concentrated liquidity and earn fees from trading activity.

Key features of Meteora:
- Concentrated Liquidity: Provide liquidity within specific price ranges
- Multiple Fee Tiers: Choose from different fee tiers based on pool volatility
- Farming Rewards: Earn additional token rewards on selected pools
- User-Friendly Interface: Easy-to-use dashboard for managing positions
Setting Up Your Wallet
Before you can provide liquidity on Meteora, you'll need a Solana wallet:
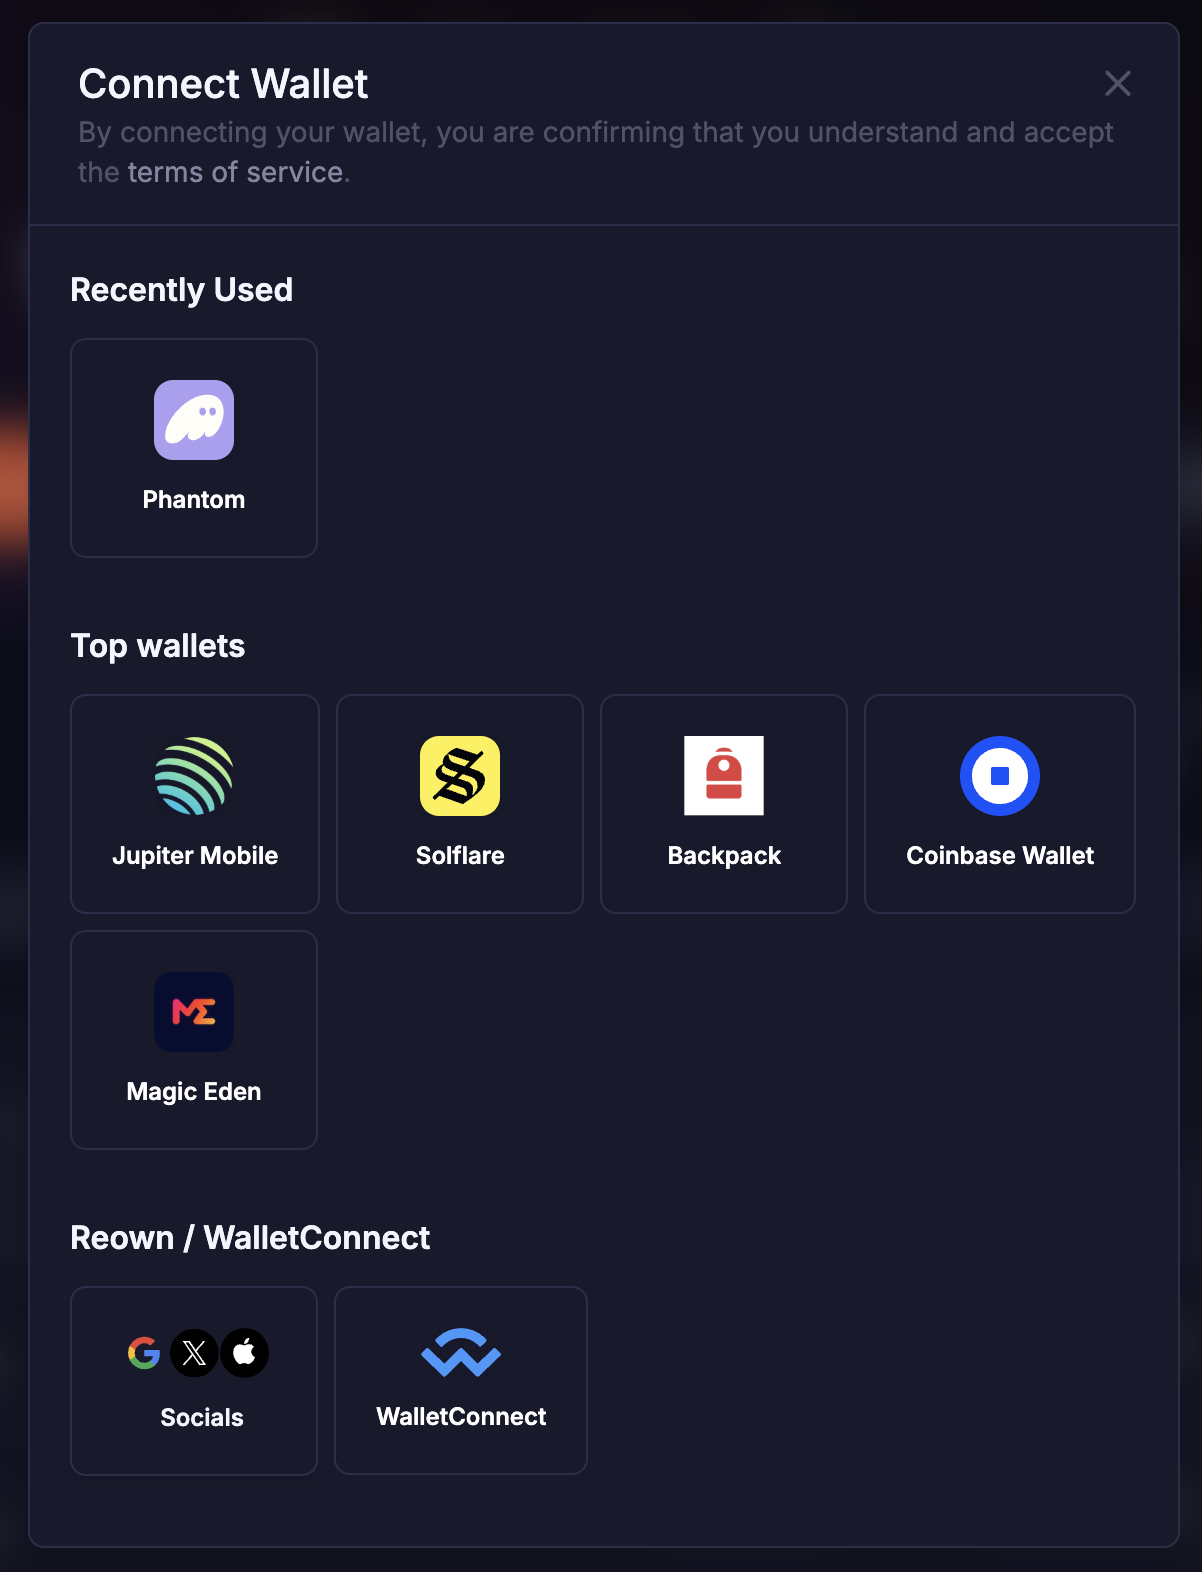
- Choose a Wallet: Popular options include:
- Phantom (phantom.app)
- Solflare (solflare.com)
- Backpack (backpack.app)
- Create a Wallet: Follow the wallet's instructions to create a new wallet
- Secure Your Seed Phrase: Write down and securely store your seed phrase
- Fund Your Wallet: Add SOL and the tokens you want to provide as liquidity
Important
Connecting to Meteora
To connect to Meteora:
- Visit app.meteora.ag
- Click "Connect Wallet" in the top right corner
- Select your wallet provider from the options
- Approve the connection request in your wallet
Creating a Liquidity Position
Follow these steps to create a new liquidity position on Meteora:
Step 1: Navigate to the Pools Section
Click on "Pools" in the main navigation menu to see available liquidity pools.
Step 2: Select a Pool
Choose the token pair you want to provide liquidity for (e.g., SOL/USDC).
Step 3: Click "Add Liquidity"
This will open the liquidity provision interface.
Step 4: Set Your Price Range
Choose the price range for your liquidity:
- Full Range: Similar to traditional AMM (not recommended for efficiency)
- Custom Range: Set your own min and max prices
- Preset Ranges: Use suggested ranges (e.g., narrow, medium, wide)
Step 5: Enter Token Amounts
Input the amount of tokens you want to provide. You can:
- Enter an amount for one token, and the other will calculate automatically
- Use the "Max" button to use your entire balance
- Adjust the amounts to fit your strategy
Step 6: Review and Confirm
Review your position details:
- Price range
- Token amounts
- Estimated fee earnings
- Position value
Step 7: Approve the Transaction
Click "Add Liquidity" and approve the transaction in your wallet.
Example: Creating a SOL/USDC Position
Let's say SOL is currently trading at $100:
- Select the SOL/USDC pool
- Choose a price range of $80-$120 (±20%)
- Input 1 SOL (worth $100)
- The interface will calculate the required USDC (approximately $100)
- Review the position details
- Confirm the transaction
Managing and Monitoring Your Position
After creating a position, you'll need to monitor and manage it:
Viewing Your Positions
Go to the "My Positions" section to see all your active liquidity positions.
Position Status
Your position will show one of these statuses:
- In Range: Current price is within your specified range, earning fees
- Out of Range: Current price is outside your range, not earning fees
Collecting Fees
As trades occur in the pool, you'll earn fees proportional to your share of the liquidity:
- Navigate to your position
- Click "Collect Fees"
- Approve the transaction
Adjusting Your Position
You can modify your position in several ways:
- Add Liquidity: Increase your position size within the same range
- Remove Liquidity: Withdraw part or all of your position
- Create New Position: Create a new position with a different range
Handling Out-of-Range Positions
If your position goes out of range:
- You can wait for the price to return to your range
- You can remove the position and create a new one around the current price
- You can add a new position while keeping the existing one
Pro Tip
Advanced Strategies
Stablecoin Pairs
For stablecoin pairs (e.g., USDC/USDT):
- Use very narrow ranges (e.g., ±1%)
- Lower risk of impermanent loss
- Highly capital efficient
Volatile Pairs
For volatile pairs (e.g., SOL/USDC):
- Use wider ranges to stay in range longer
- Consider the tradeoff between capital efficiency and rebalancing frequency
- Monitor more frequently
Farming Opportunities
Meteora occasionally offers farming rewards:
- Check the "Farms" section for active incentives
- Stake your LP position to earn additional token rewards
- Consider the APR when choosing which pools to provide liquidity to
Key Takeaways
- Meteora is a user-friendly DLMM protocol on Solana
- Setting up requires a Solana wallet and tokens to provide
- Choose your price range based on your risk tolerance and market outlook
- Monitor your positions regularly, especially in volatile markets
- Collect fees periodically and adjust positions as needed
- Consider different strategies for different token pairs
Conclusion
Congratulations! You've completed our course on providing liquidity on Solana using Meteora. You now understand the fundamentals of liquidity provision, how DLMM works, and how to create and manage positions on Meteora.
Remember that liquidity provision comes with risks, including impermanent loss. Start with small amounts as you gain experience, and always do your own research before committing significant capital.
Happy liquidity providing!